Hey Guys..
If you have followed my blog this month, you will know I have been invited to be on the June guest DT for
Graciellie Design.
Graciellie Design.
I have already posted my 3 project, but the team was asked if we would like to create an extra project this month using the amazing image called "Cup of Tea" and being me.. ohh I DO so love my tea, so I couldnt say no lol..
Graciellie Design is taking part in a blog hop this month over on Coffee Loving Cardmakers. We, the Graciellie DT is not part of the hop but Graciellie Design is and have massive prizes up on offer so us DT was asked if we wanted to make some supporting projects and help spread the word of the hop.
Here is what I have made:


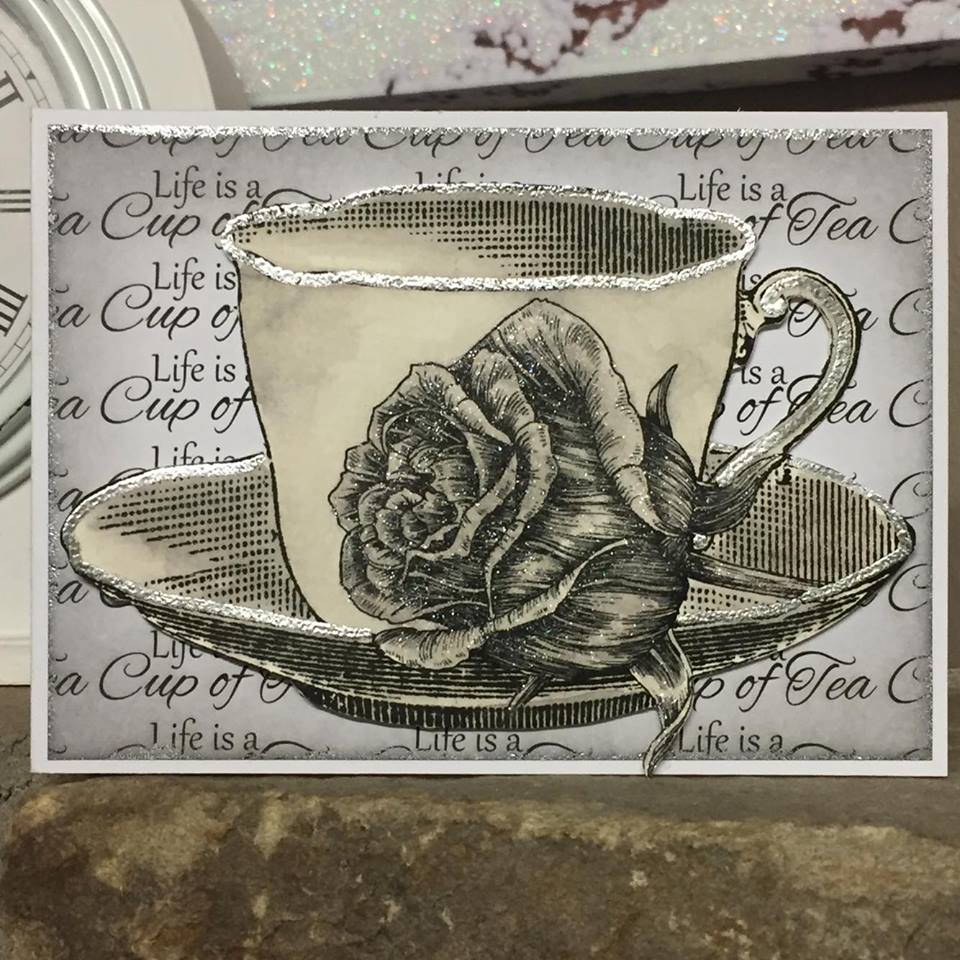
I printed the tea cup image (twice) using word so I could resize it. I printed, coloured (I used Zig clean color real brushes) and cut out.
I then used my coloured image as a template and made another tea cup from white card stock and cut it out. I now have 2 teacups the same size, but one is white, the other my coloured image. See images below on how I stuck the 2 sides together.
Now my second image I printed.. I coloured the rose head and fuzzy cut it. I then added it on top of the rose head on my card and finished with a bit of shimmer pen over.
My sentiment I also printed but desided to add it more as a price tag to the handle of the cup, that way it wont cover the rose.

I made a little tab out of white card stock to add the 2 cups together.

In order to open the card, I had to cut a wee bit of the white cup. This way the coloured cup will just pop around the back of the white cup when you open.

Now this project.. Well long story short.. Printing in the wrong size = too many printouts for 1 card.
As I had them printed after making my original card above, I thought I might as well play with this as well. I coloured with Zig Clean colour real brush markers and all I added was shimmer over the rose.
The background is made by simply copy and pasting my sentiment MANY times till I had a full sheet covered. I printed and cut to size, added a bit of distress ink and Voila... Very simple card.

Now I HAD to share this creation.. No its not mine lol.. This is my test print I did on copy paper.. My 6 year old Abbie, asked if she could have it and colour it in. I couldnt say no. And she was so proud of it I had to promise to show it off. I think she did a great job.

Now last pic.. This was really a mistake..Well I coloured the whole image in but I went to add glossy accent over the whole image and it screwed up the tea cup itself.. The rose came out well, so I cut the rose out and now have it for another project.
nd that is all from me today. Thanks for popping by and for any comments left behind.
Dont forget to come visit me on FaceBook, Twitter, Instagram, Pinterest, Youtube or my FB page.
Happy Crafting
Happy Crafting

Fabulous cards and love the cup shaped one
ReplyDeleteAmazing cards! Tell Abby her coloring was fabulous!
ReplyDeleteawesome cards. great design.
ReplyDeleteBeautiful tea cup cards!
ReplyDeleteWonderful cards.
ReplyDeleteYour cards are beautiful!
ReplyDelete